
I have seen many Australian pool owners assume that switching to salt water means draining the pool and starting again. It does not. In my experience, the job is usually much simpler. You keep the water, balance it, add the right salt level, install a chlorinator, and let the system do its work.
You do not need to drain a chlorinated pool to convert it to salt water.
I also think this change makes sense for many homes because it can make day-to-day chlorination steadier and easier to manage. Tools like MyPoolMate fit well here, because once the system is installed, keeping track of salt, chlorine, and pH becomes much less guesswork and much more personal to your pool.
What you need before you start
Before I cut any pipe or open any salt bags, I like to have everything ready in one place. It saves stress later.
- A salt water chlorinator. I would look closely at the Water TechniX Atomic Salt Water Chlorinator because it has a robust build, is assembled in Australia, carries a 3-year warranty, offers strong value for the price, and uses analog controls that stay practical during power outages.
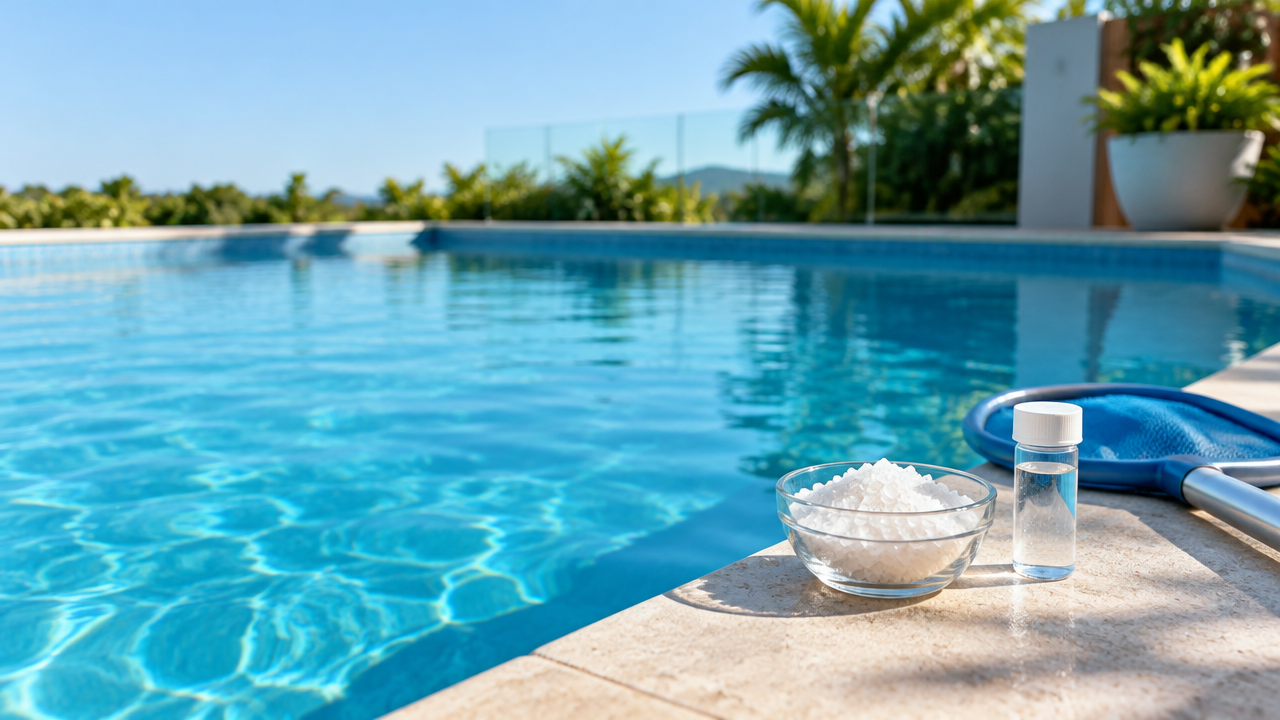
- Pool salt.
- Salt water test strips, because regular 7-in-1 strips do not measure salt.
- PVC pipe glue and cleaner if plumbing changes are needed.
- A saw or pipe cutter, tape measure, marker, and sandpaper.
- Optional magnesium minerals if you want a mineral pool feel.
If you are choosing a chlorinator size, I suggest going a bit larger than the bare minimum. Hot weather, heavy swim days, and big rain events can push chlorine demand up fast.
- WTA25 for 20,000L to 50,000L
- WTA35 for 50,000L to 70,000L
- WTA45 for 70,000L to 90,000L
If you want a broader read on chlorinator types and common mistakes, I found this guide useful in context: how pool chlorinators work, types, pros, and mistakes.
How much salt do you need?
Most residential salt systems target about 3,000 PPM salinity. A simple rule helps here: 10KG of salt will raise 10,000L of water by 1,000 PPM.
To reach 3,000 PPM in a fresh conversion, many pools need roughly 30KG of salt per 10,000L.
So if I had a 40,000L pool starting near zero salt, I would expect about 120KG of pool salt. If the pool already has some salt in it from past chemical use, the actual amount may be lower. That is why I always test first.
For magnesium minerals, the approach is a little different. If you want a mineral pool, you should use glass filter media rather than regular sand. Top-ups are often around 1,000 PPM per year. If no test strips are available, a rough guide for a 40,000L pool is four 10KG bags annually. Also, in my view, there is no need to buy extra-expensive hydroxinators for a mineral setup.
If you want more detail on that choice, this article gives a helpful overview: magnesium pools vs chlorine for Australian homes.
Test the water the right way
This part gets skipped too often. I have seen people add salt first and ask questions later. That usually leads to extra work.
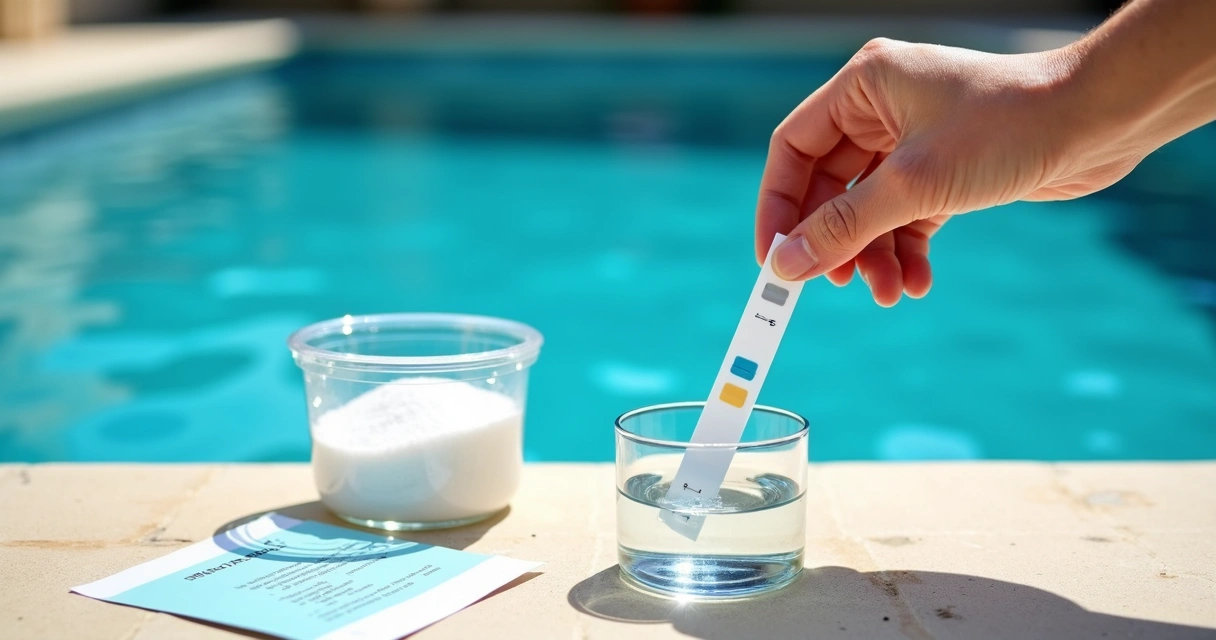
You need salt test strips made for salt water pools. Standard 7-in-1 strips will not tell you salinity. To use them properly, I sample water from at least hand depth, wait five minutes, and read the faded portion of the strip. I do not dunk the whole strip underwater, because that can ruin the reading.
If your salt reading ends up too high, this guide can help with the fix: simple steps for high pool salt levels and accurate testing.
At the same time, I balance these water targets before turning on the chlorinator:
- Free Chlorine: 1 to 3 PPM
- PH: 7.2 to 7.8
- Alkalinity: 80 to 120 PPM
- Calcium Hardness: 200 to 400 PPM
- Cyanuric Acid: 30 to 60 PPM
- Salt: 3,000 PPM
Balance first, then add salt, then start the chlorinator only after the salt has dissolved.
How I install the chlorinator
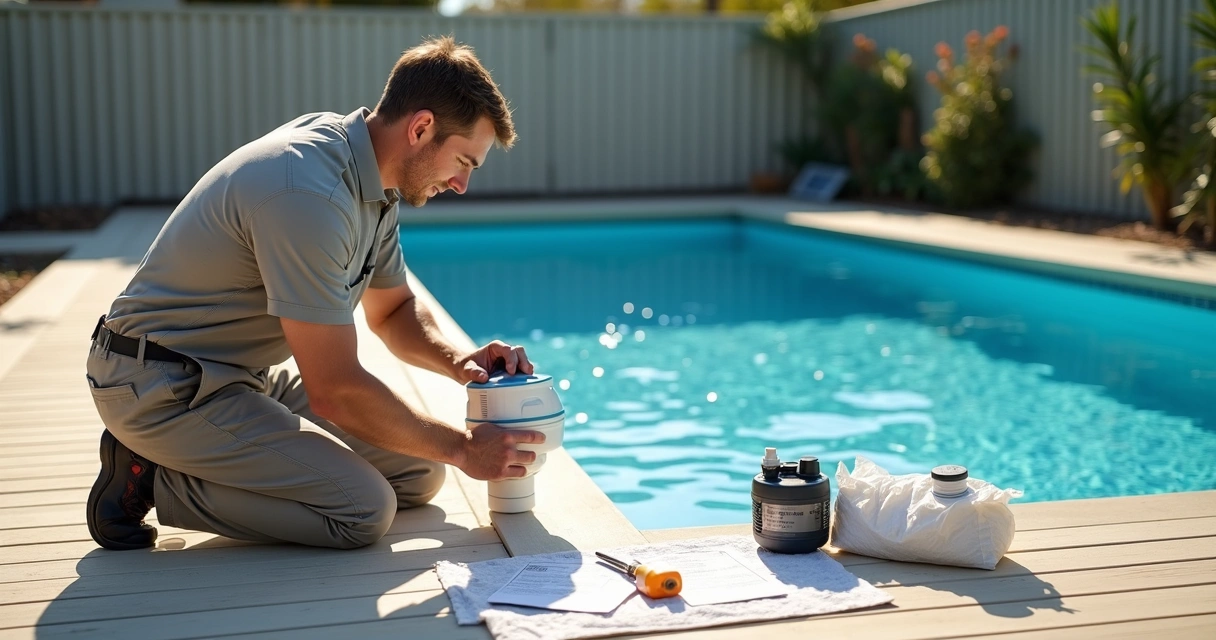
I like to treat installation as a calm, careful job. Measure twice. Then measure again. A bad cut in pool plumbing is annoying, and I have learned that patience is cheaper than replacing pipe.
- Turn off power to the pump area.
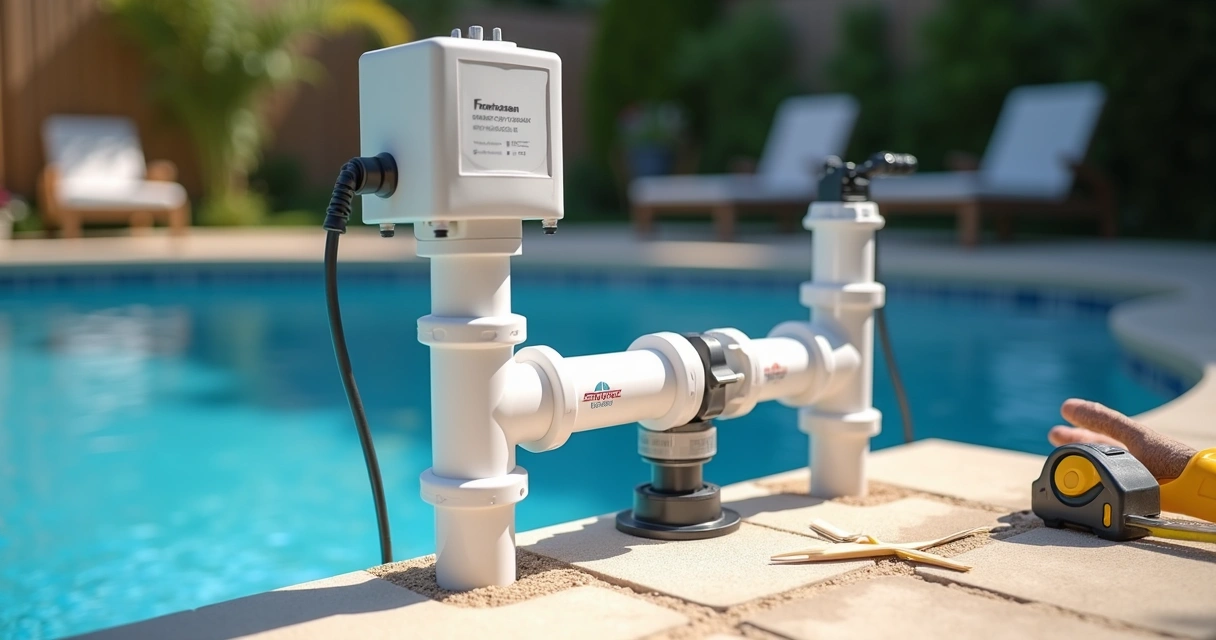
- Choose the installation point on the return line, as the last piece of equipment before the return jets.
- Use the template provided with the chlorinator and mark the pipe.
- Measure more than once before cutting.
- Cut the pipe, sand the edges, and test fit the salt cell and unions.
- Glue PVC as needed and let it cure properly.
- Mount the control box and install the salt cell.
- Connect the unit according to the product instructions.
- Run the pump and check carefully for leaks.
Do not switch the chlorinator cell on yet if the salt has just been added. Spread the salt evenly across the pool, brush it to help it dissolve, and circulate the water. If you are adding magnesium minerals, I would run circulation for 24 hours before starting the cell.
Cut once. Regret lasts longer.
For model-specific setup ideas, I would also look at this salt chlorinator guide, even if your final layout differs a little.
Start up and early checks
Once the salt is dissolved, I test salinity again. Then I turn on the chlorinator and set the timer. At that point, the pool is converted. Simple in theory, but the checks matter.
Salt only needs occasional testing, or when the chlorinator shows a low salt warning.
What I watch more often is pH. Salt pools can drift upward over time, so regular pH checks help keep the water comfortable and the chlorine working well. MyPoolMate is useful here because it can store test history and show trends, which is much better than trying to recall last month from memory.
Ongoing care after conversion
After conversion, life usually gets easier, not hands-off. That is the honest version. You still need to test, clean, and make small corrections.
In my experience, the best routine is:
- Check free chlorine and pH regularly.
- Review alkalinity, calcium hardness, and stabiliser from time to time.
- Test salt only now and then, or when the unit asks for it.
- Inspect the cell each season.
- Clean the cell when scale starts to build, even if it is self-cleaning.
If the system ever starts acting oddly, like low output, odd lights, or flow issues, this troubleshooting guide is a practical next step: salt water chlorinator troubleshooting and fixes.
Conclusion
I think converting a traditional chlorinated pool to salt water is one of the more manageable pool upgrades for Australian homes. You do not drain the water. You balance it, calculate the right salt dose, install the chlorinator in the right spot, wait for full dissolving, and then tune the system. That is the path.
If you want a simpler way to track tests, spot trends, and get pool-specific treatment advice after your conversion, I suggest getting to know MyPoolMate and seeing how it can support your pool care with smarter, more personal guidance.
Frequently asked questions
What is a salt water pool?
A salt water pool is a pool that uses dissolved salt and a chlorinator cell to produce chlorine in the water. It is still a chlorinated pool, but the chlorine is generated by the system rather than added only in manual doses.
How much does conversion cost?
The cost depends on pool size, the chlorinator model, plumbing work, and how much salt or magnesium you need. In my view, the main costs are the chlorinator itself, installation materials, and enough pool salt to reach about 3,000 PPM.
Is it worth it to switch?
For many owners, yes. I think it can make chlorine production steadier and reduce the feeling of constant manual dosing. It still needs testing and balancing, but daily care often feels easier.
How long does conversion take?
A straightforward installation can often be done in a day. After that, you need circulation time for the salt to dissolve fully before turning on the cell. If you are adding magnesium minerals, I would allow about 24 hours of circulation first.
What equipment do I need?
You need a salt water chlorinator, pool salt, salt water test strips, and basic plumbing tools if pipe cuts are needed. Optional extras include magnesium minerals for a mineral pool setup and glass filter media if you go that route.