
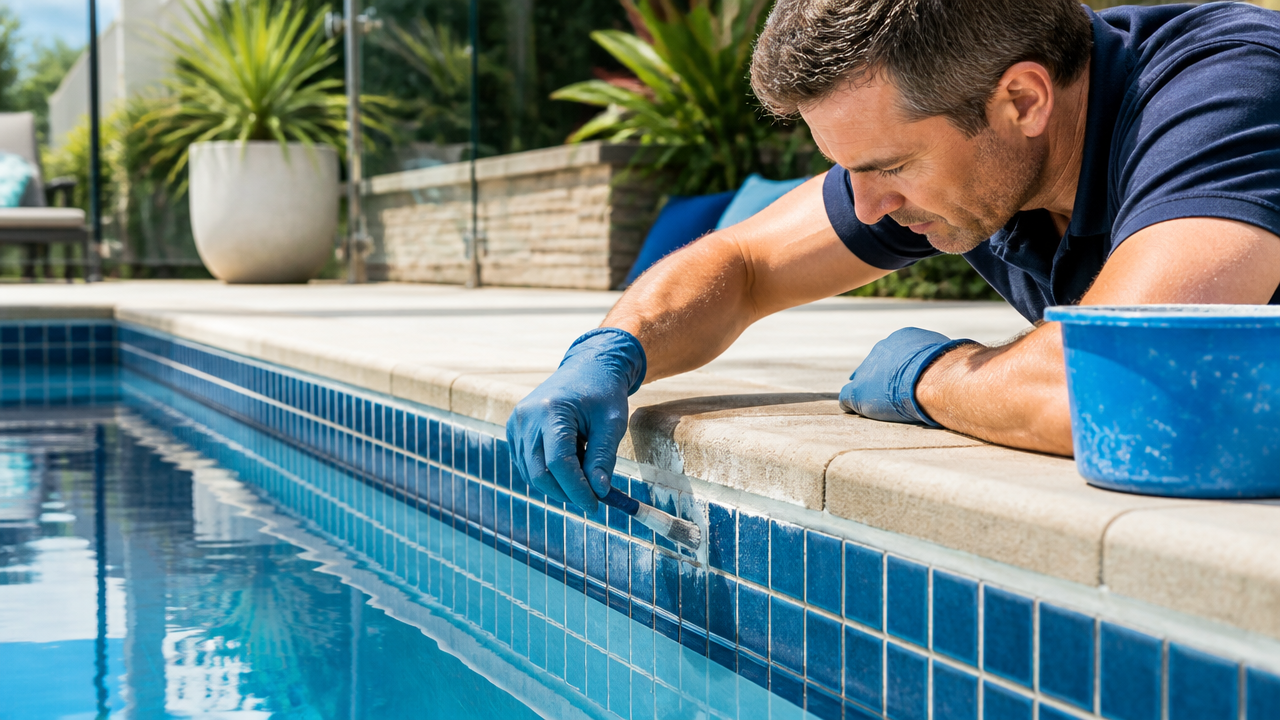
Pool tile grout matters more than most owners realise. If the joints are stained, cracked or soft, the problem is not just cosmetic. Around a residential pool, damaged grout can hold grime, trap moisture and make the waterline look older than it is. This guide shows Australian pool owners how to clean it safely, when to repair it, and when a full regrout is the smarter move.
The short version: clean first, diagnose second, repair only what is actually failing. Many grout problems are really scale, oil or water balance issues, which is why a steady testing routine and clear maintenance records, like the ones inside MyPoolMate, help you avoid unnecessary chemical use and guesswork.
Key points before you start
- Dirty grout is not always failed grout. Calcium scale, body oils and fine debris can make sound joints look worse than they are.
- Cracking has a cause. Movement, waterline exposure, poor installation and aggressive cleaning can all shorten grout life.
- Small repairs are worth doing early. A few loose joints are easier to fix than a long run of missing material.
- Sealer is not a repair. It helps protect sound grout, but it will not stabilise crumbling joints.
- Pool chemistry still matters. If scale keeps coming back, review balance and cleaning habits, not just the tile line.
What pool grout actually does, and why it fails
Grout fills and protects the gaps between tiles, but it is not structural glue. Around a pool, it helps keep edges stable, reduces water entry behind the tile face and gives the finish a neat, continuous look. At the waterline especially, it also copes with sun, splash, minerals and regular brushing.
Most failures start with one of four issues: movement, constant wet and dry cycling, scale build up, or old age. If the joint is powdery, missing in spots or cracked in a repeated pattern, it usually needs more than a surface clean. If it just looks dull or discoloured, start with a careful wash and compare the result before planning repairs.
This is also why waterline care should sit inside your broader maintenance plan. A simple residential pool maintenance routine makes it easier to catch small tile line issues before they become a bigger finish problem.
How do you clean pool tile joints safely?
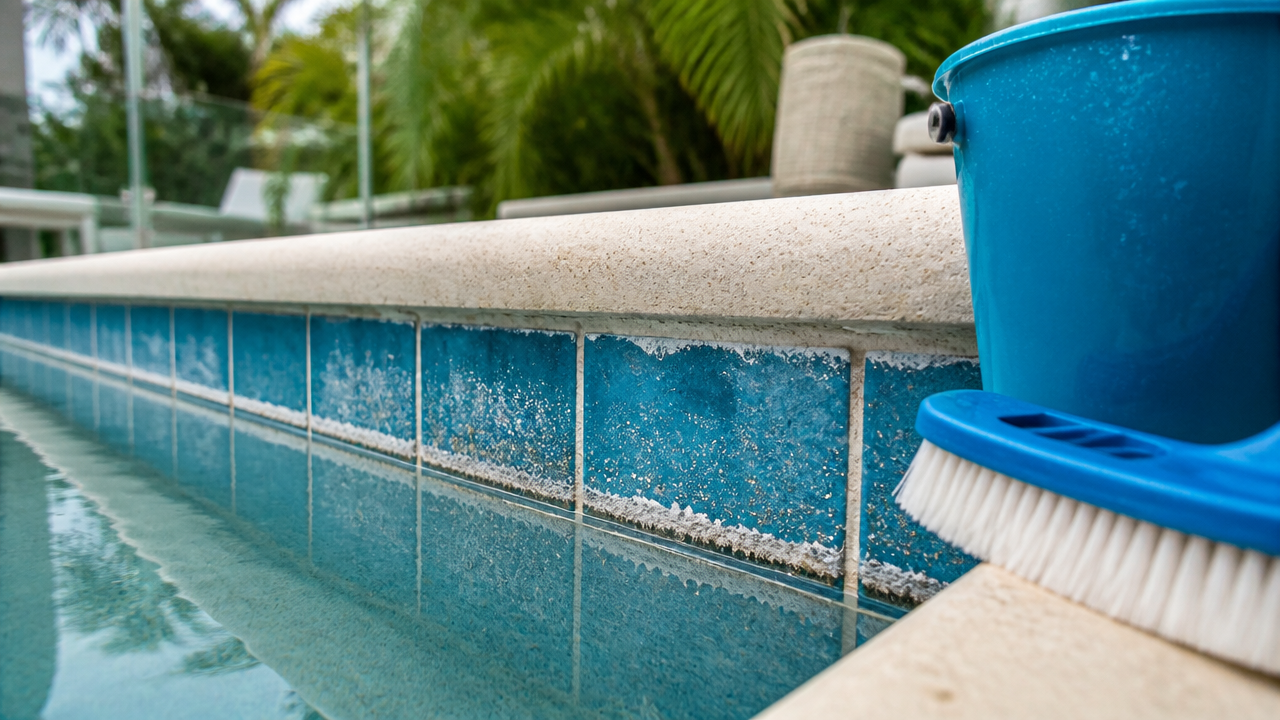
Start with the least aggressive method that can work. In most home pools, that means a soft brush, a non abrasive pad and a cleaner suited to the residue you can actually see. For oily grime, use a mild cleaner. For chalky build up, treat it like scale, not dirt.
A safe cleaning sequence looks like this:
- Brush away loose debris first.
- Test your cleaner on a small hidden section.
- Work in short sections so residue does not dry back on.
- Use gentle pressure and avoid metal tools.
- Rinse well and reassess before repeating.
If the white crust keeps returning, the root cause may be calcium scaling rather than grout decay. In that case, a guide to removing pool scale safely is more useful than scrubbing harder. If you are using acidic products near the tile line, make sure your pH management is sensible as well, because repeated overcorrection can create other surface problems. This is where a practical reference on lowering pool pH safely fits into the picture.
Can you repair a small section, or is full regrouting better?
Yes, small local repairs often make sense when the surrounding tile work is still sound. If only a few joints are cracked or missing, spot repair is cheaper, faster and less disruptive. If the grout is failing along long runs, sounds hollow behind the tiles, or keeps breaking out after previous touch ups, a larger regrout is usually the better use of time.
Use this quick guide:
| Condition | Best next step |
|---|---|
| Light staining, firm joints | Clean and monitor |
| Small cracks or isolated gaps | Rake out loose material and patch repair |
| Repeated cracks in the same area | Check for movement and inspect tile bond |
| Widespread soft, missing or powdery joints | Plan a broader regrout |
| Moisture issues or suspected leak behind tiles | Investigate before cosmetic repair |
If you suspect water is getting where it should not, deal with that first. Surface repair will not solve a hidden moisture path, and in some cases it is worth reviewing broader signs from common pool treatment problems before deciding the grout is the only issue.
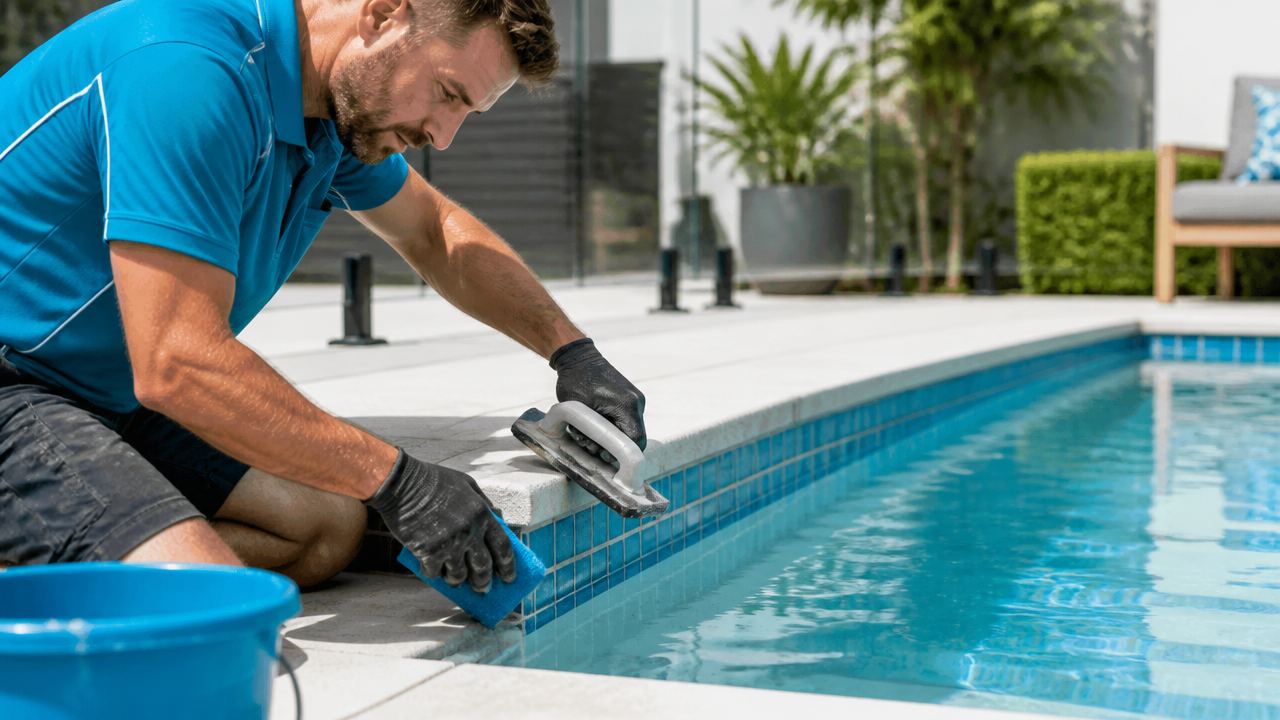
What are the common mistakes when grouting tiles around a pool?
The biggest mistake is repairing the symptom and missing the cause. A fresh patch may look good for a month, but it will not last if the joint was not cleaned properly, if the area is still moving, or if the wrong grout was used in the first place.
- Applying new material over loose or dusty grout.
- Using an overly harsh acid clean before repair.
- Ignoring cracked silicone at movement joints nearby.
- Wetting the area too soon and cutting the cure time short.
- Choosing a product for indoor wall tiles, not pool exposure.
Another common mistake is confusing stains with grout failure. If the mark is actually metal staining or residue from water chemistry, a surface specific approach works better. That is why some owners benefit from advice on identifying pool stains and metal marks before they start digging out joints that are still structurally fine.
Does grout need sealing, and what if you skip it?
Some grout types benefit from sealing, but not all products need a separate sealer. Cement based grout is generally more porous, so sealing can help slow down water and dirt absorption if the manufacturer recommends it. Epoxy products usually resist moisture and staining better on their own.
What sealing will not do is fix cracked, hollow or powdery joints. Think of it as protection for sound grout, not as rescue for damaged grout. If you skip sealer on a product that calls for it, the surface may mark up faster and become harder to keep clean, especially at the waterline where minerals tend to collect.
For busy households, the practical question is not just whether to seal, but whether the joint is stable enough to be worth sealing at all. Log your cleaning date, repair date and follow up photos inside MyPoolMate, then review what actually changed. That history makes it easier to spot whether your grout is improving, holding steady or quietly declining.
How MyPoolMate helps you stay ahead of tile line problems
Grout care is easier when it is part of your routine, not a once a year panic job. MyPoolMate helps owners track water test history, seasonal changes and maintenance tasks in one place, so you can connect the dots between water balance, scale build up and surface condition.
That matters because many tile line problems build slowly. If your records show recurring high calcium conditions, frequent top ups or repeated staining, you can act earlier and more precisely. Instead of buying a random chemical fix, you can follow a pool specific plan based on your surface, sanitiser and test history.
If you want a clearer digital workflow, compare your options with a guide to the best pool app for Australian pool care, or see how a pool care app that does not sell chemicals supports more practical decisions. For waterline grime in particular, it also helps to understand how tile scum lines build up and how oils can contribute to haze and demand, as explained in this look at pool enzymes and surface residue.
Frequently asked questions
What is the best grout to use for pool tiles?
It depends on the pool area and the product used. Cement based grout is common and easier to patch, but it is more porous and usually benefits from sealing. Epoxy grout resists stains and chemicals better, but it is harder to apply and repair. For small touch ups, match the existing system if possible.
Can you put new grout over old grout?
You can apply new grout over old grout only if the damaged section is raked out first. A thin skim over loose or powdery joints rarely lasts. For a durable repair, remove the failed material, clean the gap properly, then regrout to the right depth and let it cure as directed.
What are the common mistakes when grouting tiles?
The most common mistakes are cleaning with overly harsh acid, grouting over damp or contaminated joints, ignoring movement cracks, and skipping the cure time before the area gets wet again. Around pools, it is also a mistake to treat a chemistry issue as a grout issue when scale or staining is the real cause.
Does all pool grout need sealing?
No. Cement based grout usually needs sealing if the product calls for it, especially in splash zones and porous finishes. Some epoxy and modified grouts are designed to resist water and staining without a separate sealer. Always check the product instructions before assuming the joint is protected.
What happens if you do not seal grout?
If you do not seal a grout that requires it, the joint can absorb more water, dirt and minerals. That can make staining, mould and surface breakdown more likely over time. Sealing is not a cure for cracking, but it can help slow down wear in otherwise sound joints.